Learn how to add a service to your client portal for patients to book their appointments with that service
Updated less than a month ago
Adding services on your client portal
Now that you have set up your availability for the week, you can create a service for your patients to schedule appointments.
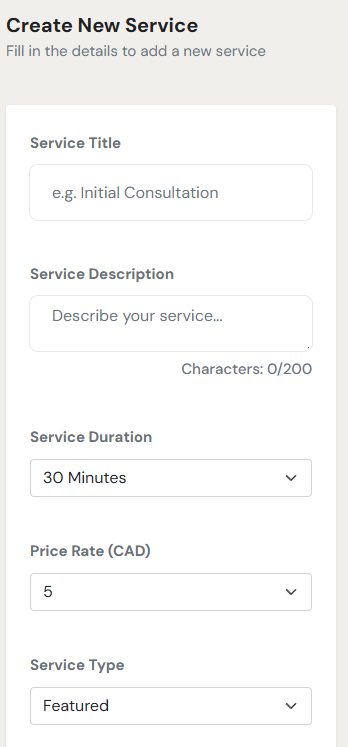
To create a service, go to Services, click on Create Service, and fill in the service details.
After you’ve created your service, it will automatically be visible on your client portal.
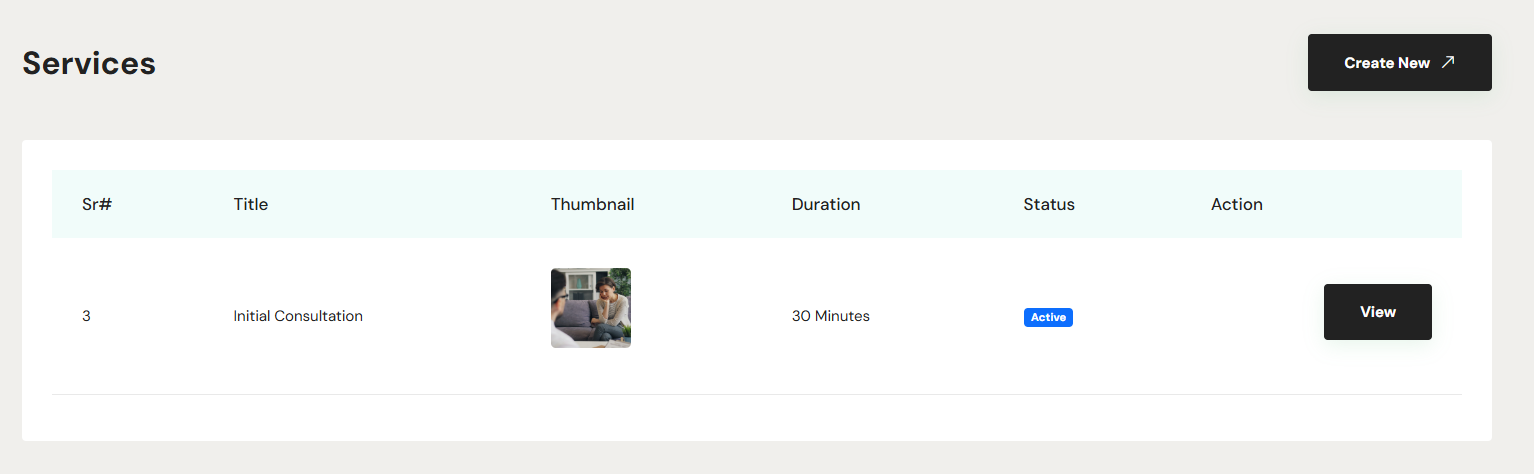

To modify the service you've just created, go to Services and click the View Service button for the service you wish to edit, then click the edit icon.
Adding Intake Forms
You can attach up to four intake forms to each service. These can include any service-related forms you would like the patient to download.
To attach intake forms to a service, navigate to Services, select View Service for the service you wish to modify, and scroll down to the Documents & Forms section.
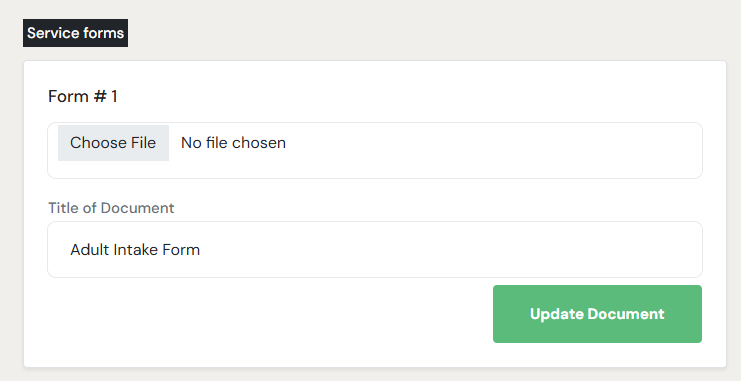
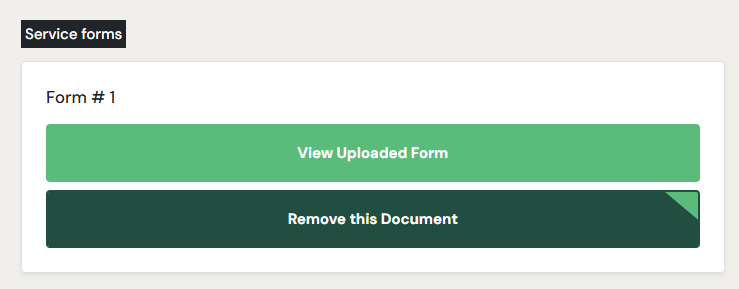
In each box, you can attach a form or document (the file can be both .pdf or .docx), enter its title, and click Update Document. If you want to change the form or the title, just click Remove Document to start again.
Changing the display order of your services
In your client portal, the first three services are displayed from your Services page in your Dashboard. To view all your services, click on Browse All Services within the portal. The order in which they appear is based on how they are arranged on your Services page in your Dashboard.
In your Dashboard, you can customize the order of your services to suit your preferences. Simply go to Services, then click and hold the drag icon to rearrange the services as desired. This option is available for any service listed on that page.